Short answer
Stone veneer works when it sits where masonry would logically carry weight — a wainscot along the base of the front elevation, porch columns and piers, a chimney chase, or an entry surround — and it looks pasted on when it dies at an outside corner or floats in the middle of a wall. Keep it to one continuous element on one or two elevations rather than patches scattered around the house. The detail that decides whether it lasts is the transition where stone meets siding, which needs a sloped ledge, flashing and a drainage gap rather than a caulked butt joint.
Stone veneer belongs where masonry would plausibly be doing work: along the base of a wall as a wainscot, on porch columns and piers, on a chimney chase, or wrapping an entry. It looks pasted on when it stops at an outside corner with nothing to stop against, when it sits as an isolated panel under one window, or when it shows up on three elevations in three different amounts. The rule that keeps a mixed-material elevation looking intentional is simple — stone reads as the heavy thing at the bottom or the heavy thing that runs top to bottom, and siding is everything else.
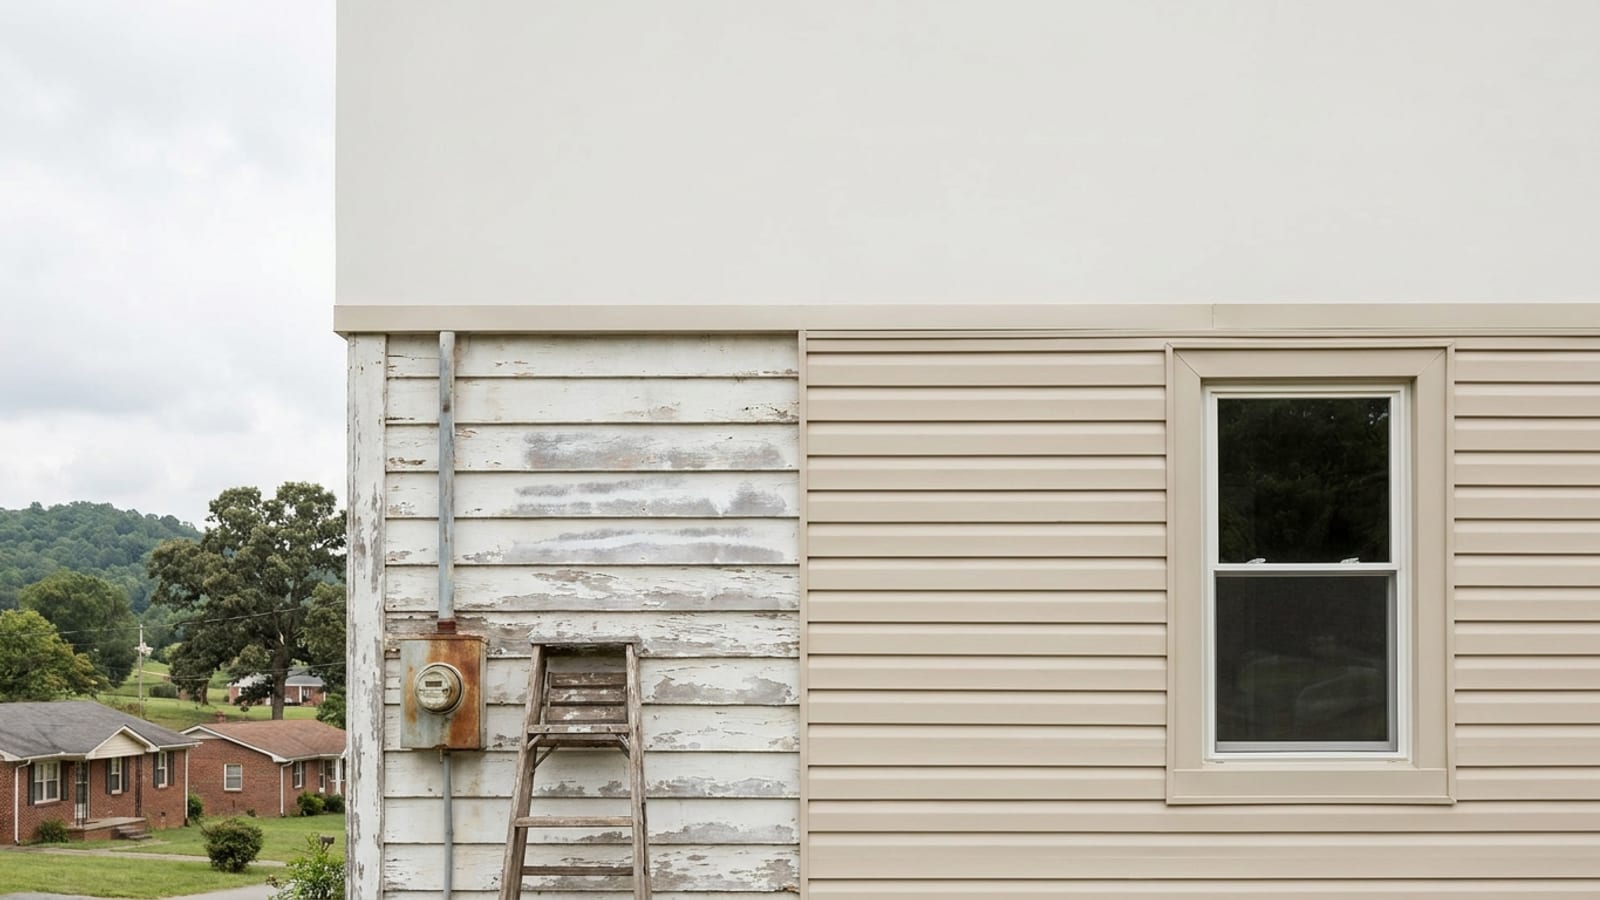
The second half of this, and the half that actually decides whether the wall lasts, is the horizontal joint where stone meets siding. That line is where water collects, and it is the most commonly botched detail on mixed-material houses in this region. A full siding replacement is the right time to fix it, because the transition has to be built from the sheathing out and cannot be corrected later from the surface.
Where does stone veneer actually belong on an elevation?
Think about where a mason would have laid real stone a hundred years ago. That instinct is right almost every time.
A wainscot across the base of the front
The most common and most reliable placement. Stone runs from grade up to a consistent height — often under the first-floor windows or up to the water table line — and siding takes everything above it. It works because it mimics a real foundation and it gives the house a visual base. The height needs to be the same across the whole face, and it has to turn the corners and die into something, not stop mid-air.
Porch columns, piers and knee walls
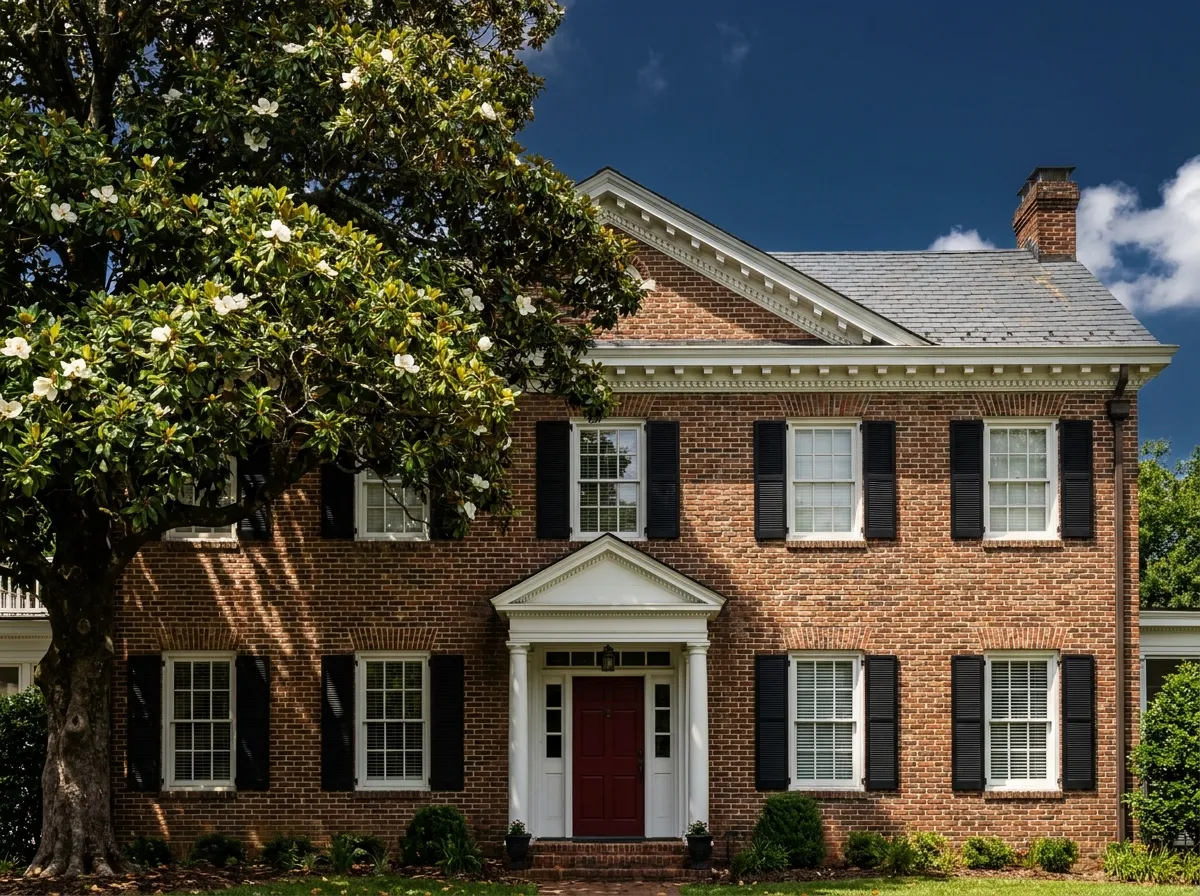
A porch is a natural place for masonry because the columns are carrying something. Wrapping square columns in stone and matching the piers or a low knee wall makes the porch read as a built element rather than a bolt-on. This is the one place where a small quantity of stone still looks correct, because the shape justifies it.
A chimney chase
A framed chimney chase clad in stone from grade to the cap is one of the strongest looks available on a siding house. It works because it is continuous top to bottom. A chase that is stone for the first six feet and siding above it looks like the budget ran out.
An entry surround or a single gable
Both can work, and both are easy to get wrong. An entry surround needs enough width on each side of the door to feel like a wall, not a frame. A stone gable works on houses with a strong front-facing gable that already dominates the elevation, and it should run all the way down to a defined stopping line rather than fading out partway.
Where does it look pasted on?
| Placement | How it reads | What to do instead |
|---|---|---|
| Wainscot that stops at the front corner | Fake front, stage set | Wrap the corner and die into a jog, a chimney or a porch return |
| Single panel under one window | Patch | Run the full width of the elevation |
| Stone on the front only, nothing anywhere else | Obvious from the driveway | Carry the base course at least a few feet down each side wall |
| Chase clad partway up | Unfinished | Full height, grade to cap |
| Three different accents on one house | Busy, no hierarchy | Pick one element and commit to it |
The common thread is termination. Stone needs a reason to stop. A corner return, a change in wall plane, a porch post, a chimney — those are reasons. Running out of budget at an arbitrary point is not, and the eye catches it immediately.
How much stone is the right amount?
One element per elevation, and usually only on the elevations people see from the street and the driveway. Beyond that, the second and third accents start competing and the house loses a focal point. If the front already has a strong stone wainscot, the chimney on the side wall probably wants to be siding. If the chase is the feature, the base course can be modest or absent.
Proportion matters more than quantity. A wainscot that comes up to about a third of the visible wall height on a two-story front reads as a base. The same wainscot at head height reads as a wall that changed its mind.
How does stone meet siding without causing water problems?
This is the part that separates a good installation from a callback in four years. The stone-to-siding joint is a horizontal line on a vertical wall, which means every drop of water running down the siding arrives at it.
The joint needs a ledge, not a butt joint
Siding should not simply end on top of stone with a bead of caulk in the seam. The correct detail gives the water a place to go: a sloped metal or trim ledge at the top of the stone that projects out past the face of the veneer, so water running down the siding lands on the ledge and drips clear of the wall below. Caulk alone fails because the two materials move at different rates and the joint eventually opens — and once it opens, the water goes behind the stone where nobody can see it.
Flashing and the weep screed
Adhered stone veneer is not waterproof and was never meant to be. Water gets through the mortar joints, hits the drainage plane behind the stone, and has to get back out. That means two things have to be present:
- A continuous water-resistive barrier behind the lath and scratch coat, lapped shingle-style with the barrier on the siding above so water always laps outward and downward.
- A weep screed or drainage track at the bottom of the stone, left open and clear so the water exits.
Where the stone meets the siding above, the housewrap on the siding must lap over the flashing on the stone. Reverse that lap and you have built a funnel into the wall.
Clearances at the bottom
The bottom of the stone needs clearance to grade and to hard surfaces — typically several inches to soil and a couple of inches to a walk or a driveway. Mulch piled over a weep screed blocks drainage and holds moisture against the assembly. This is the single easiest thing for a homeowner to undo after the crew leaves, so it is worth knowing.
Where the stone meets windows and doors
Openings inside a stone field need their own pan flashing and sill detail. Stone returning into a window jamb without a flashed sill below is a leak waiting on a bad storm. If windows are being replaced in the same season, sequencing the two jobs together makes this detail much cleaner.
Does mixing materials change how the siding job is planned?
Yes, in three practical ways.
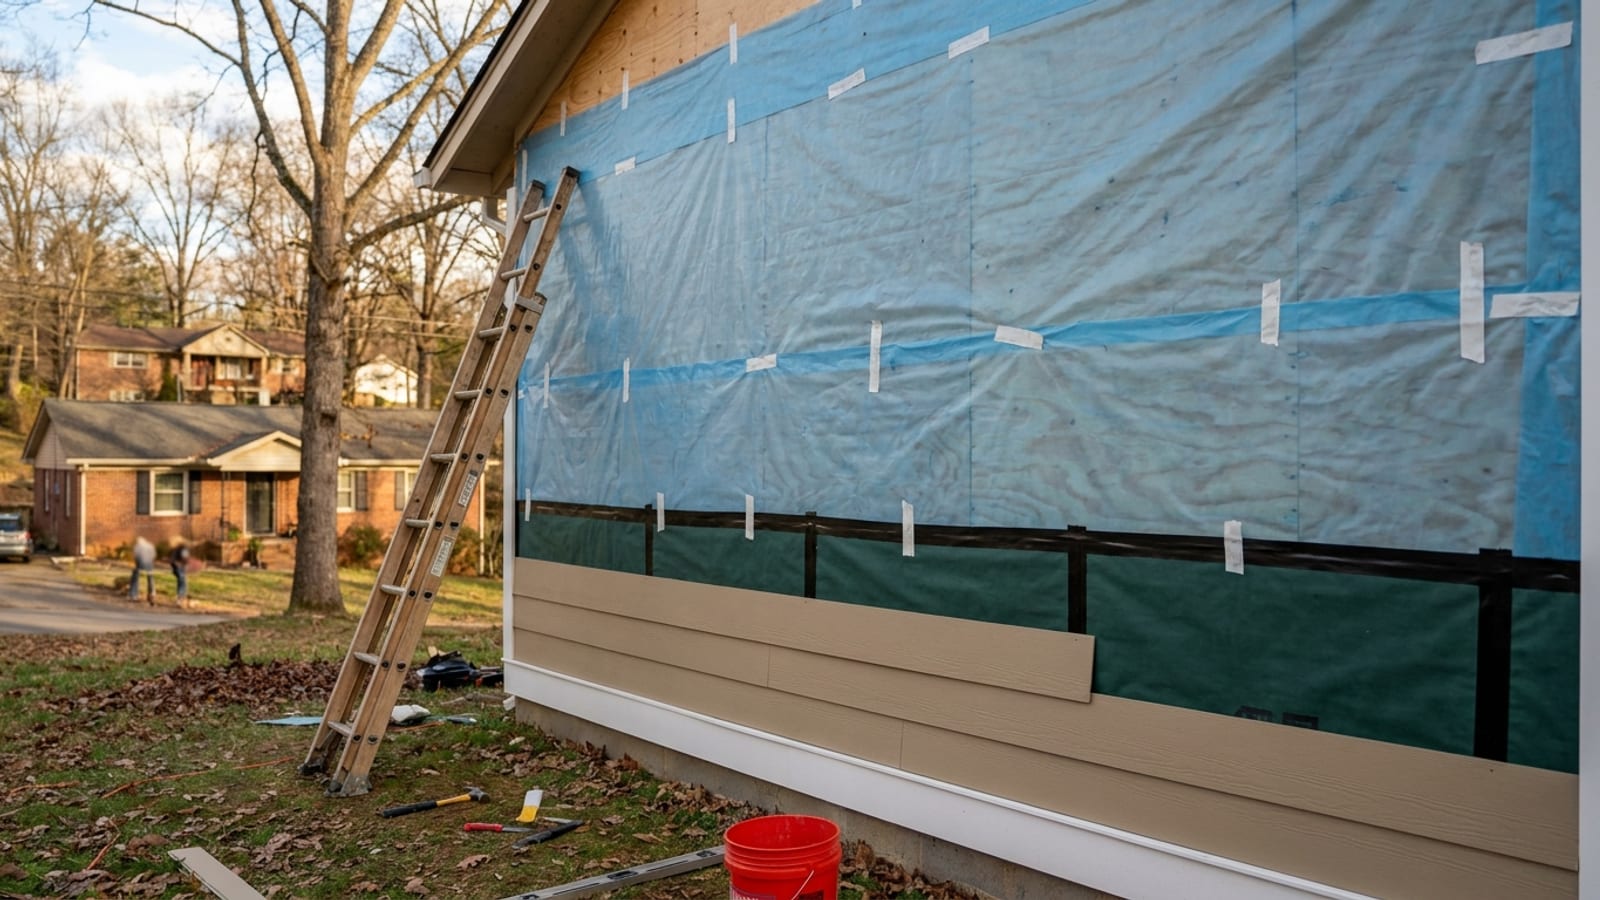
Sequencing. The stone assembly gets built first from the bottom up, then the siding above laps over its flashing. Doing it the other way means cutting siding to fit a line that has not been established yet.
Thickness. Stone plus lath and scratch coat sits proud of the plane of lap siding. Corner boards, window trim and the transition ledge all have to be sized for that step, which is a design decision made at the estimate, not on the ladder.
Schedule. A typical siding replacement runs four to seven days. Masonry work adds cure time and a different trade rhythm, so a mixed-material elevation is a longer job than a straight siding job of the same square footage.
What about color and texture pairing?
Stone carries several colors at once, which makes it the anchor. Pull the siding color from the quietest, most repeated tone in the stone blend rather than from the boldest one, and let trim be the separator between the two materials. A light trim band at the transition line does more visual work than either the stone or the siding does — it makes the change of material look deliberate.
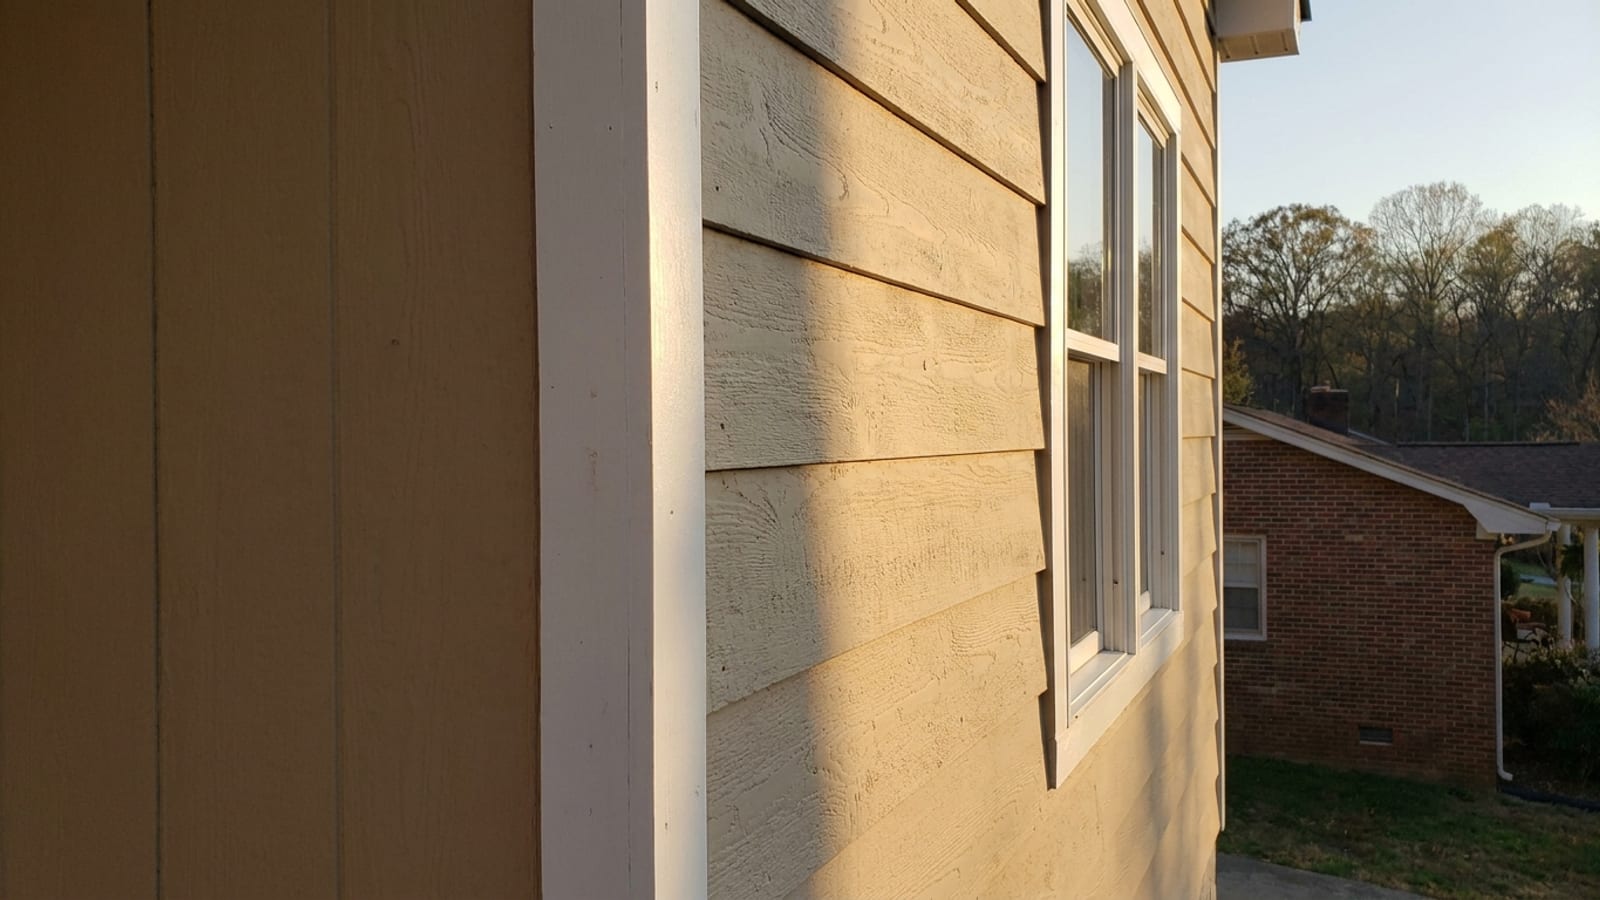
Heavily textured stone against heavily textured siding fights. If the stone is rough and irregular, a smooth or lightly textured siding panel above it settles the elevation down.
What does it cost, and how do people pay for it?
Full siding replacement in this market typically runs $12,000 to $25,000 installed, including trim, soffit, fascia and house wrap. A stone accent is priced on top of that by the square footage of the accent and the amount of detailing it carries — columns, returns and openings inside the stone field all take more labor per square foot than a flat wainscot. You get one itemized number at a free in-home estimate, which is a sales appointment where the estimator measures, shows product and gives a price. If the accent pushes the project past what you want to write a check for, financing through the GreenSky program covers it the same as the rest of the envelope.
The finished work is covered in writing for material and labor under The Patriot's Promise, and the crew installing it is a 4th-generation install team rather than a subcontracted one — which matters most on exactly the flashing details described above, because those are the parts nobody can inspect once the wall is closed.
Next step
If you are already planning to re-side and you are wondering whether stone belongs on the front, walk the elevation with someone who can tell you where it will terminate cleanly and how the transition will be flashed. Request a free estimate and we will measure the house, mark the stopping lines, and give you one itemized price with and without the accent so you can see what it actually adds.